No matter it’s a form or a mail, the appearance always strikes the first impression where images play a huge parts of it. That’s why you can’t be too demanding with the images.
However, images always come with different sizes and resolutions. It’d look terrible if you use the row materials. This is where Image Edit Toolkit comes into handy. It provides more professional features to edit the image uploaded, such as image crop and size adjusting.
How does it work?
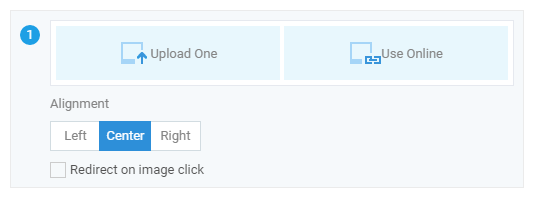
When are editing a form or a mail, you can use Image Edit Toolkit to edit the image after you upload it with the relevant widgets.
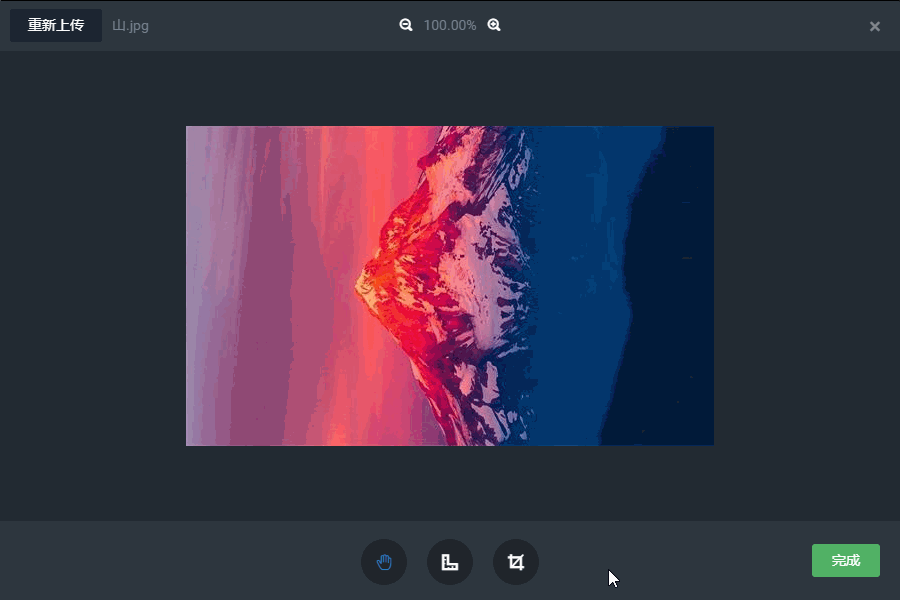
As the Toolkit presents, there are two sets of function: Adjust Size and Crop, which are represented by two buttons.
Adjust Size

You can change the width and height while maintain the original ratio. You can set the exact value, zoom by percentage or use the preset size. Besides, you can also rotate the image to reverse it.
Just so you know, an image doesn’t have to be large and high resolution. The image need to be appropriate for different scenarios and devices. In many cases, a giant image looks just the same as an image that meets the requirement. Meanwhile, the larger the image is, the bigger its size is and the slower the loading speed is. You don’t want that to happen.
For your information, the default width of the form in PC is 800px, which usually is the width of the header background image; for mobile phone it’s 480px, which is enough to cover the whole header.
Tips: the percentage on the center top is a preview zooming ratio which is irrelevant to the true size of the image.
Crop

Crop is to take a part of the image. If you check “Lock aspect ratio”, the shape of the cropping frame is fixed that you can adjust the size of the frame and drag the image to adjust the position of the frame; Or you can uncheck “Lock aspect ratio” and drag the corner of the frame at your will to adjust the shape and size.
The preset size and ratio are not all the same. They differ as the form width and image type (such as header image, background image, logo) changes. It’s very intelligent.
Reset and save
You can click the “Reset” on the top right to restore the image to the original during editing so that you can try anew.
When you are adjusting size and cropping, you can click √ to save the change or click × to cancel the change; When you’ve finished all the editing, click “Done” to save the change and present the image.
A few more showcases
Keep it NEAT
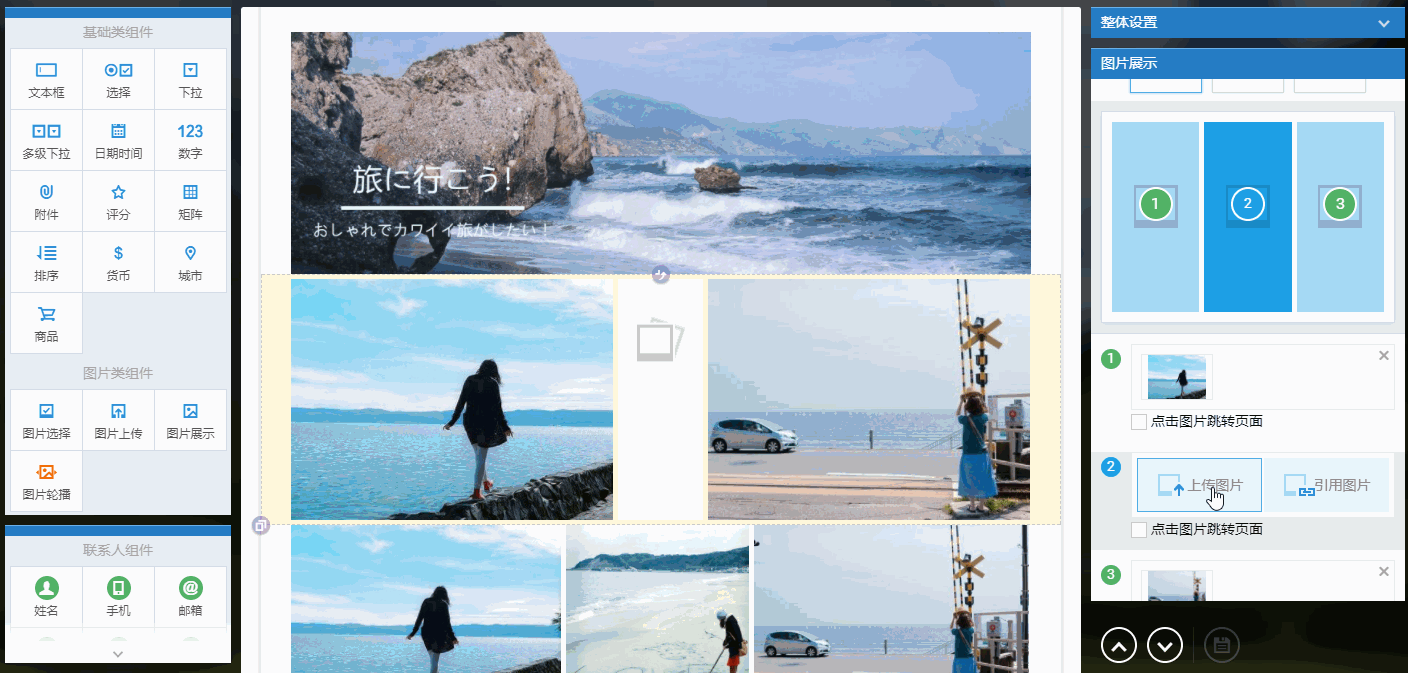
- Put several images together
You can display several images in a row by Static Img, presenting a staggering effect and saving up space.

System would automatically zoom the images in the same row to the same height in order to align. If the images are of different ratio, they would look uneven when pieced together. This is where the Toolkit comes to handy that you can crop the images to the same ratio to make them even.
- Img Select and Sale Widget
Similar to Static Img, Img Select and Sale Widget also involve more than one image. However, in these two widgets each image is a separate option which shares the same width with each other. The height is fixed to the highest one in the row so they easily tend to be uneven.

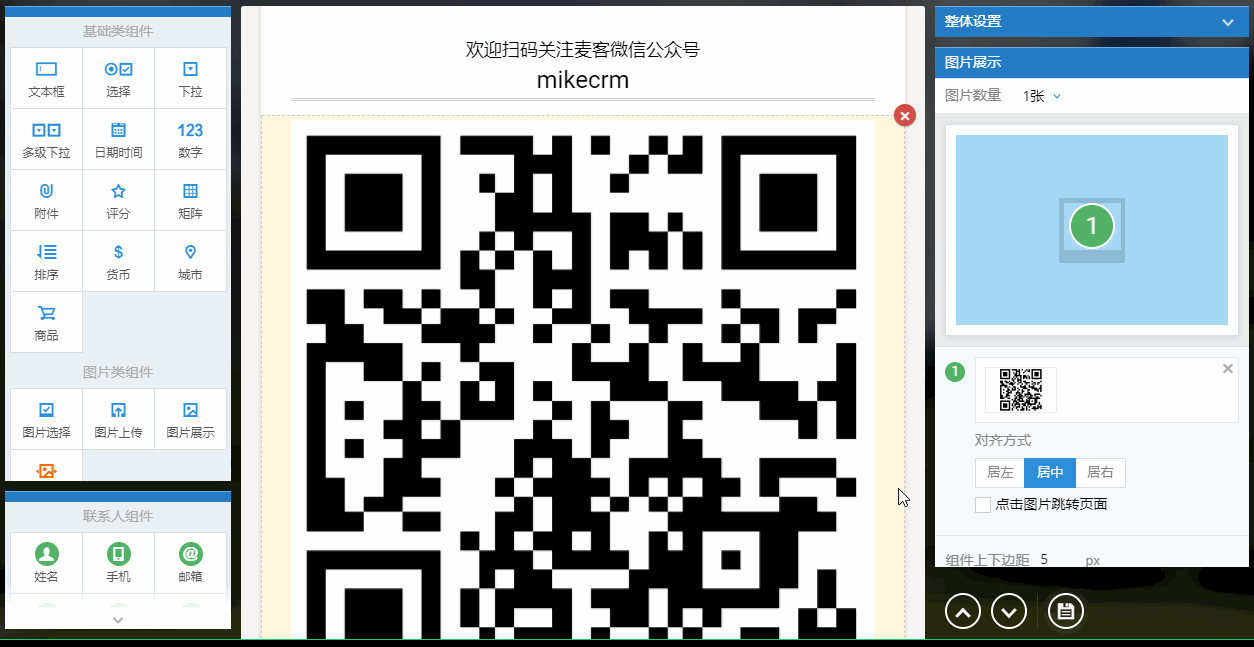
- The most suitable is the best
Take QR Code for an example. If it’s too big it looks awkward. Mostly, a suitable size works the best for an image. Besides, small image saves space and loads fast. Think about it.
- Rotate to get a different point of view
If you rotate it may surprise you. It’s a common thing to do with an image. You can find the Rotate button in “Adjust size” and rotate the image in 90°s
How to activate it and where does it apply to
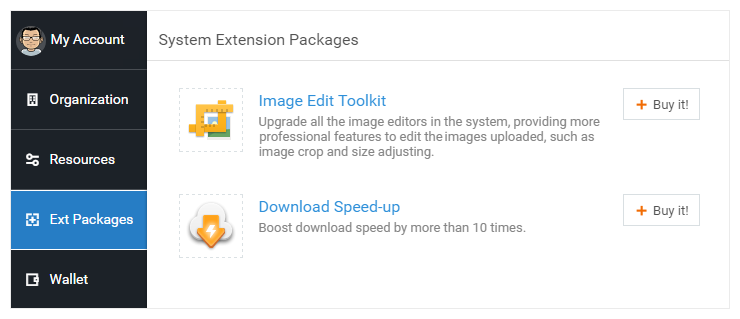
Image Editing Toolkit is a System Extension Package that you can buy it in “Settings – Ext Packages”
You can also buy it in the uploading window where you can click “Upgrade to Advanced Editor”

The Toolkit work only for “Anywhere & Lifetime”. When it’s activated, all the image-uploading widgets will be upgraded to advanced editor for unlimited time, form and mail editing alike. It’s a dream deal! Get one for yourself right away~